Method to take screenshots on Amazon Fire TV
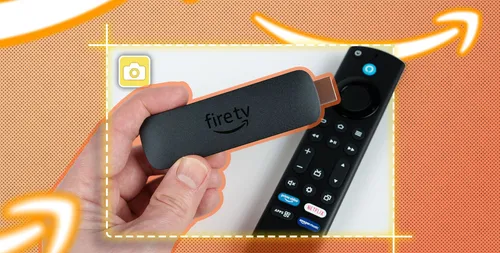
When taking screenshots on Amazon Fire TV, you quickly realize that it's not as fast as you expected. Understanding that debugging tools and terminal commands are required, here is all the information needed to take screenshots on an Amazon Fire TV.
Step 1: Enable ADB
Enabling ADB on an Amazon Fire TV is very simple. Click 'This TV' seven times after device and software. Then, go to the new developer options submenu under the device and software page and turn on ADB. For detailed guidance with screenshots, please check out the guide.
Step 2: Install Android SDK and ADB on your computer.
ADB (Android Debug Bridge) is provided as part of the platform tools in the Android SDK. You can also use this SDK to develop your own Android applications.
After installing the Android SDK, find out where the Platform Tools folder is located and move to that location in the terminal.
The most complex step in this process, so once you start ADB following our steps, the rest of this article will be easy.
Step 3: Connect Fire TV to ADB through a network bridge.
Let's start with a simple procedure. To connect via the network, run the following command: adb connect ip.address, but replace ip.address with your Fire TV's IP address.
If you don't know the IP address, go to Settings > Device and Software > Details. Scroll down to 'Network' and the IP address will be displayed on the right side of the screen.
Once you have your Fire TV's IP address, simply run the `adb connect ip.address` command. Sometimes, a popup may appear on the TV asking for authentication from your computer. In this case, select 'Allow' and then run the `adb connect ip.address` command again.
Once the connection is confirmed, run `adb devices` to check that the TV is displayed. It should look like this.
'Step 4: Run the screenshot command'
'After properly connecting Fire TV through ADB, it's time to take a screenshot.'
This operation is very simple. Run the following command: `adb shell screencap -p /sdcard/screenshot.png`. You can replace 'screenshot.png' with any file name—however, it must end with .png.
'I described the file name and I know what it is even after copying it to my computer.'
Step 5: Copy the file to your computer
Now it's time to move the screenshot to your computer. To do this, run the following command: adb pull /sdcard/screenshot.png tmp. The wildcard character (*) does not function here. In this example, the folder named 'tmp' is used to save the file. You can also use a dot (.) to mean 'here,' and the extracted file will be placed in the current terminal directory.
The command would look like this: adb pull /sdcard/screenshot.png .. A dot basically means 'here,' so the extracted file will be configured in the folder currently open in the terminal.
Of course, if your screenshot is named 'settings-screen.png,' replace 'screenshot.png' with the correct file name.
Step 6: Delete screenshots from Fire TV storage
You may not want to leave many screenshots on your Fire TV. For me, using TCL Fire TV, each screenshot varies from about 5MB to 10MB. So, a couple of photos don't cause any space issues, but saving several can consume a significant amount of limited storage.
To delete screenshots, use the following command: `adb shell rm /sdcard/screenshot.png`. The wildcard modifier (*) does not function here, so you need to delete each photo individually by file name.
After taking screenshots on Fire TV, you might want to sideload some apps. What can ADB do? We have a guide that will support you in explaining this tool.

カテゴリー
最新記事
- 静かなキーストロークと高い生産性の向上を実現する、STEALTH KEYBOARD SM3 メカニカルキーボードのレビュー。
- その古い電話が目の前で火事の原因になった。
- アップル招待とアップルカレンダーの違い:10個のポイント
- アップル @ ワーク:2025年にアップルがGoogle Workspaceに対抗する製品をリリースするのか?
- Apple は iPhone SE 4 を発表する特別なイベントを開催する可能性が低い。
- 今日の NYT Connections ヒントと解答 (2 月 8 日 #608)
- Ubuntu 20.04 LTS のサポートが終了します。
- 読み込みが間に合わない? AI に読んでもらいたいですか?
- これは私が愛用する聖杯 ブルーレイプレーヤーです。
- 来週、新しい Apple 製品の発表が予定されています。詳細は下記の通りです。